Quick Start

Set up your LeafKVM in just a few steps:
- Connect USB-C from the LeafKVM to your target computer for keyboard, mouse, and virtual media.
- This connection will usually power the LeafKVM as well.
- Attach a full-size HDMI Type-A cable between the LeafKVM and the target’s HDMI output.
- Join the network by plugging in Ethernet or configuring WLAN.
- The touchscreen will show the assigned IP address once the device is ready.
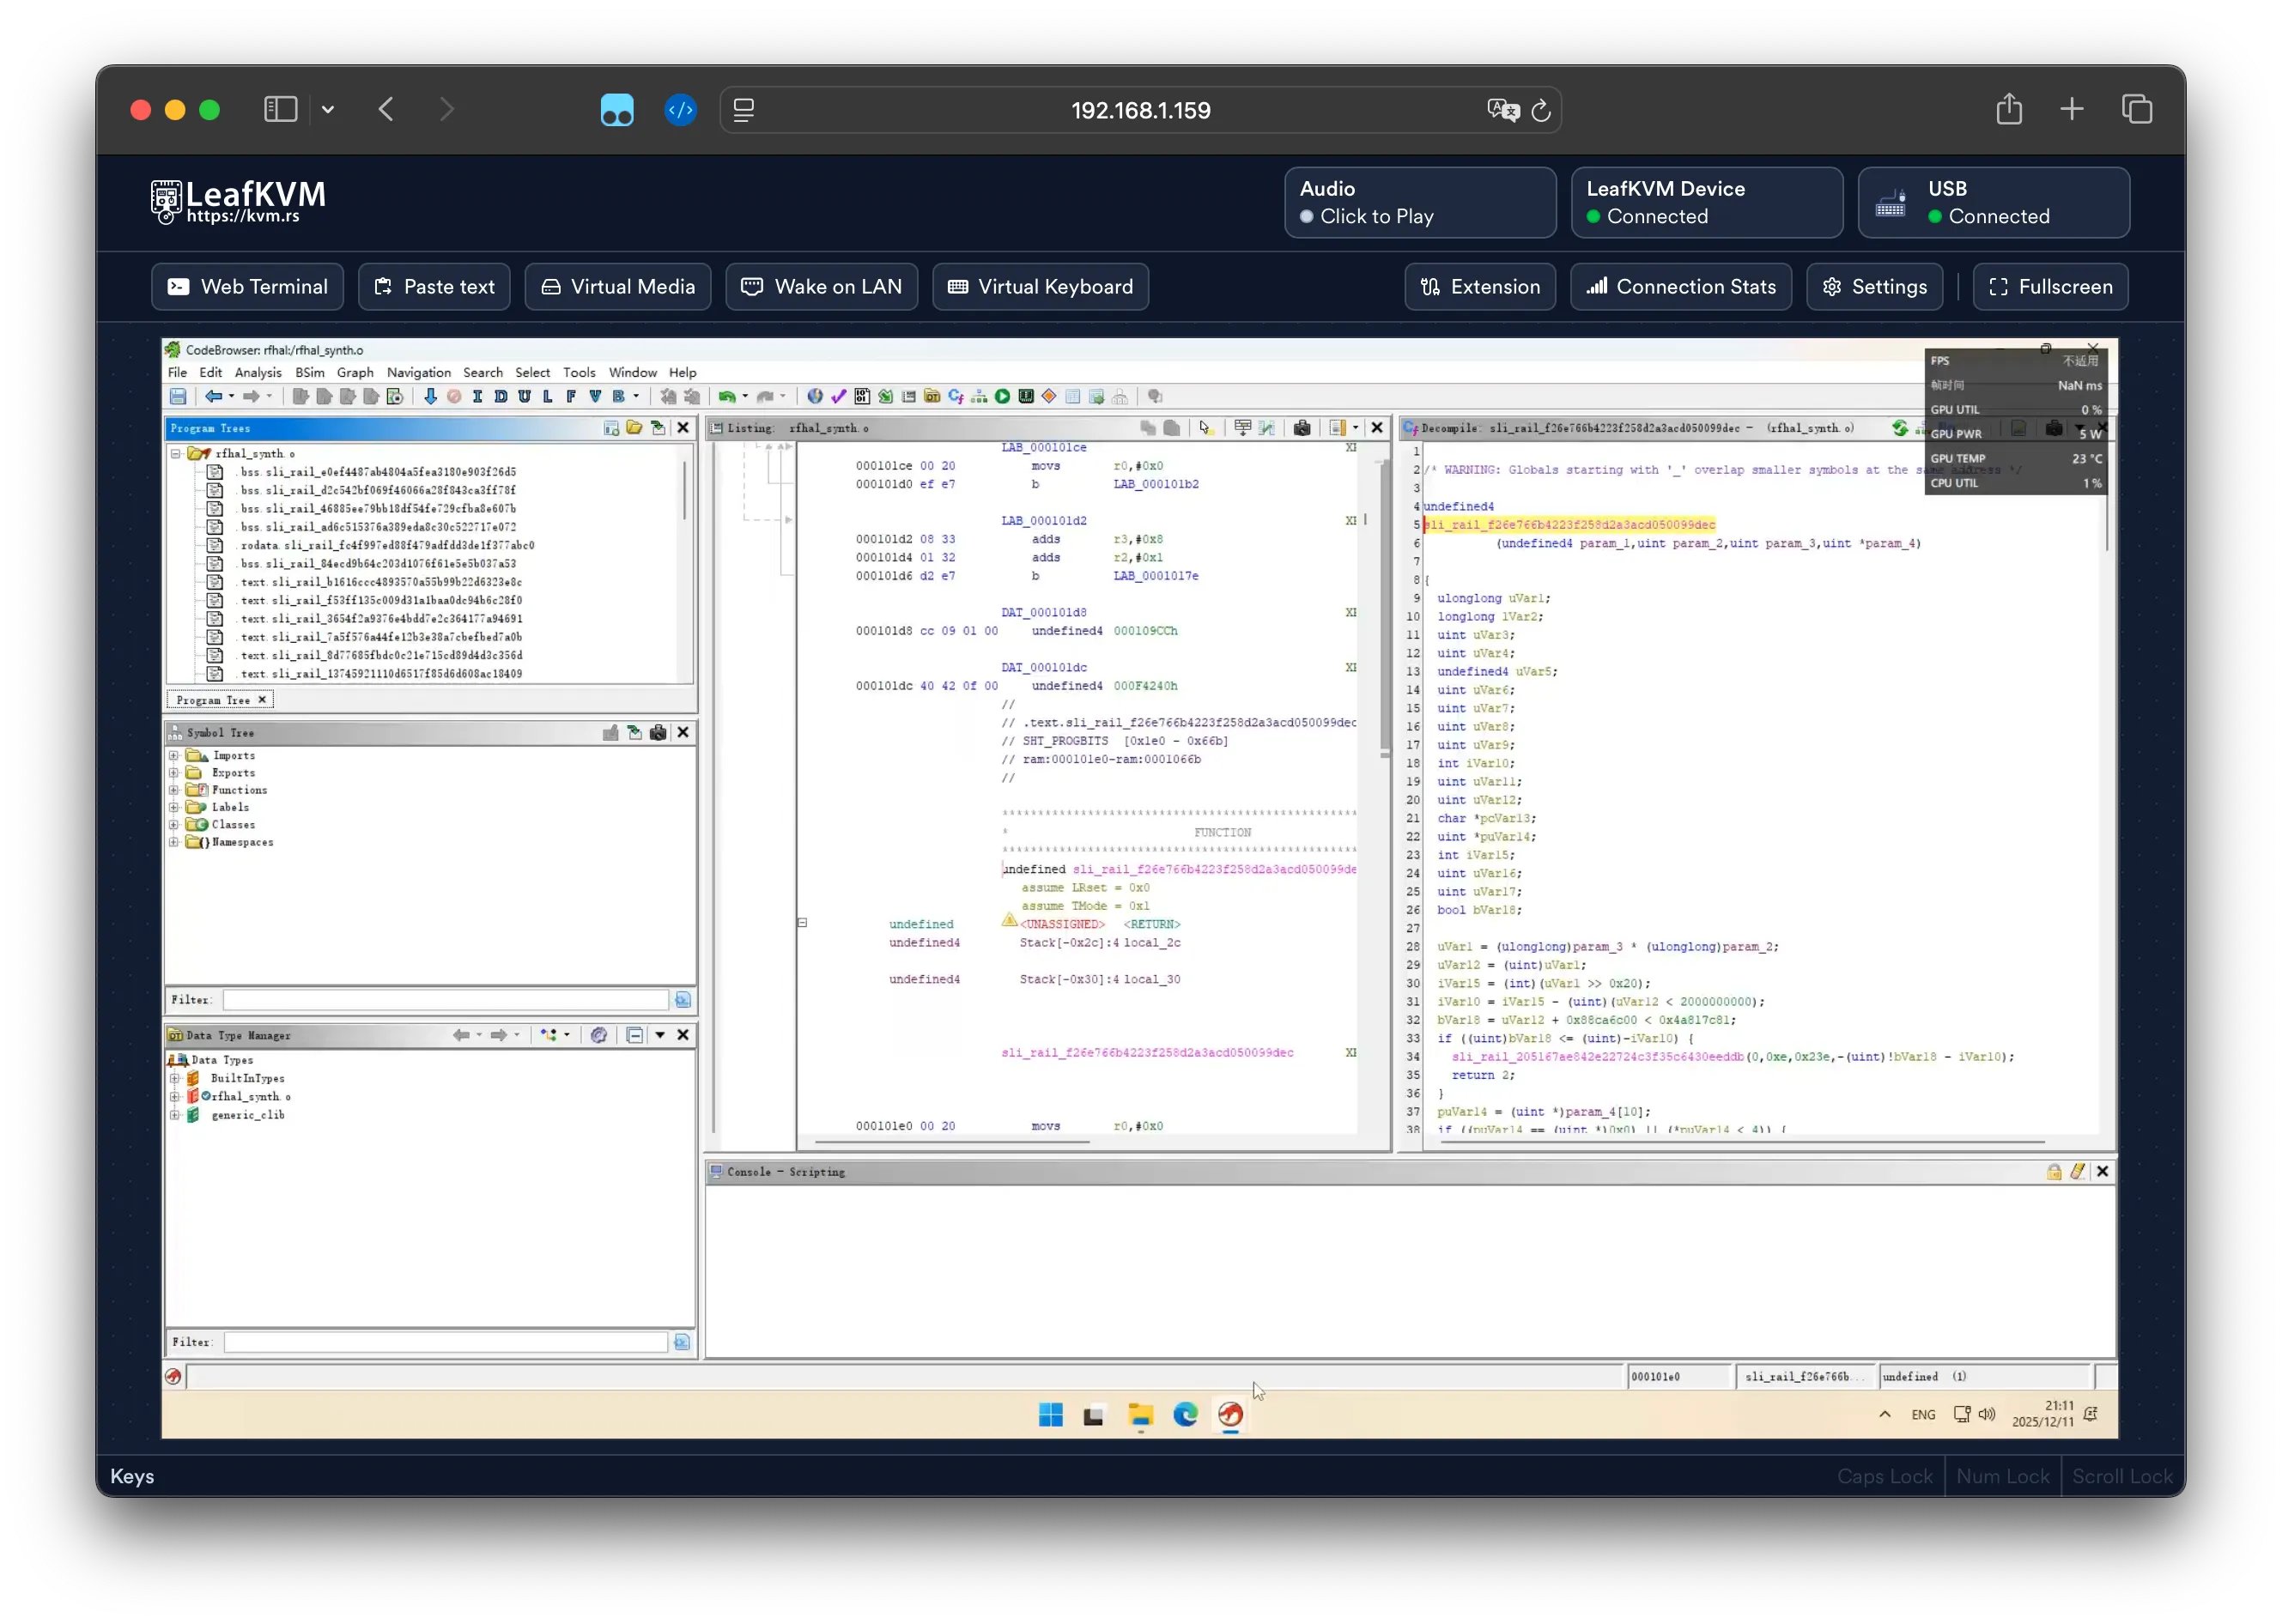
- Enter this IP address in any web browser to access the LeafKVM interface. Detailed info.
You’re now ready to control the system remotely.
Touchscreen UI
Section titled “Touchscreen UI”
The touchscreen interface now uses a two-page home layout.
- Screen 1 contains the four primary function tabs: Ethernet, WLAN, USB, and HDMI Preview.
- Screen 2 provides Connectivity settings, including VPN configuration.
System Info
Section titled “System Info”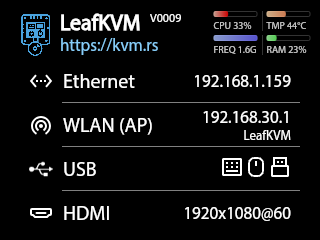
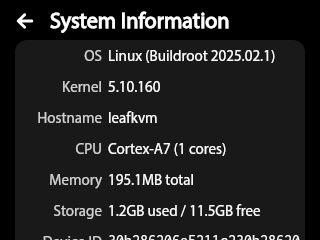
Tap the top-right corner on the main page to open the System Information panel. This view provides key device identifiers and status details, including:
- Hostname and MAC addresses for both Ethernet and WLAN
- LeafKVM Device ID
- Hardware and software version information
- Scroll to view more…
Ethernet
Section titled “Ethernet”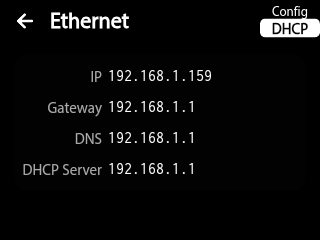
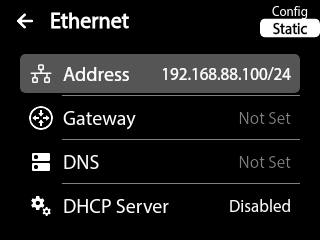
The Ethernet menu allows configuration of wired networking with three selectable modes:
- DHCP (Automatic): Requests network settings from an available DHCP server.
- Static (Manual): Manually assign IP address, subnet, gateway, and DNS.
- DHCP Server is available
- Disable: Turns off the Ethernet interface.
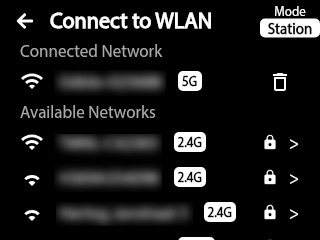

The WLAN tab provides wireless configuration with the following operating modes:
- Station: Connect LeafKVM to an existing Wi-Fi network.
- Access Point: Create a dedicated LeafKVM Wi-Fi network for direct remote access.
- SSID, PSK, and band selection
- QR Code for scan-to-connect
- Disable: Disables the Wi-Fi interface.
[Keyboard / Mouse / Storage] emulation status is also shown through intuitive icons.
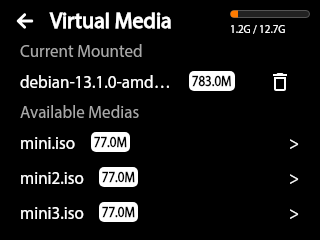
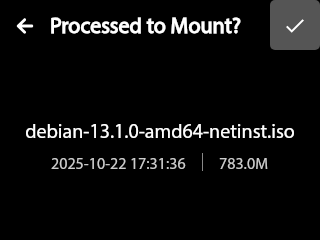
If Mass Storage is enabled (configured via the Web UI), available system images can be mounted or unmounted directly from the touchscreen.
HDMI Preview
Section titled “HDMI Preview”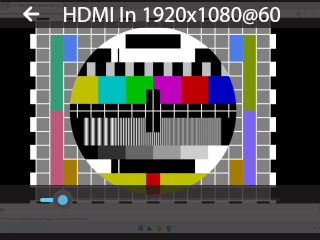
The HDMI Preview tab provides a live video feed of the connected system.
- Tap the left control to enter Pan mode.
- In Pan mode, use touchscreen gestures to move the image.
- Swipe left or right anywhere on the bottom bar to zoom.
- Tap the image to show or hide the toolbar.
Connectivity 2nd Screen
Section titled “Connectivity ”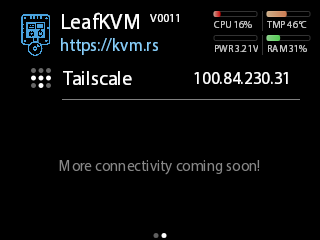
The Connectivity page (Screen 2) provides centralized remote access and network service controls.
Available options include:
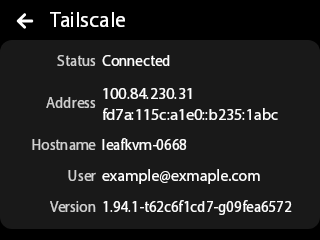
- Tailscale: Show status of tailscale connection.
© 2026 LeafKVM Team
Contact